Diy Bullet Proof Ceramic Plates
How To Make Ballistic Plates For Body Armor Quora

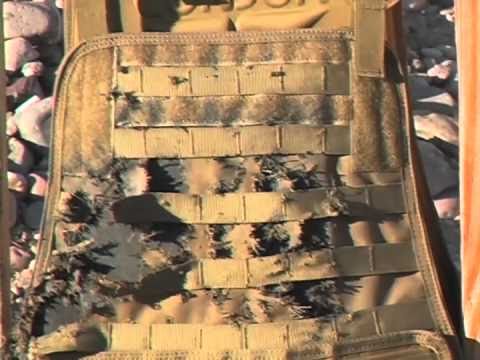
Homemade Bulletproof Ceramic Plate Test Youtube
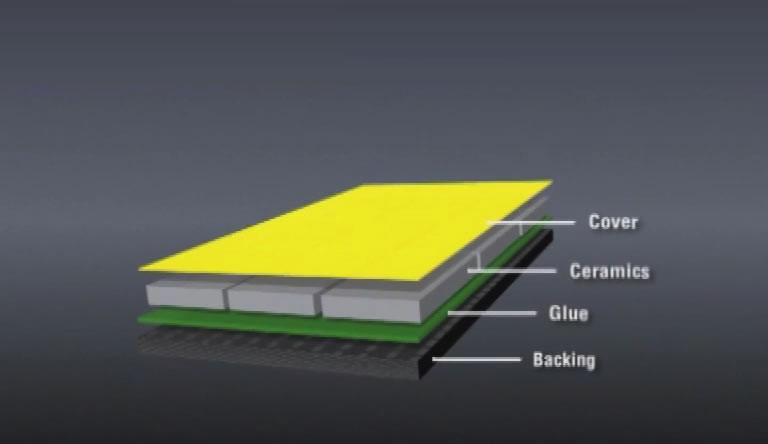
Ballistic Protective Ceramics

Homemade Bulletproof Body Armor Vs 5 56 Youtube
What Are The Characteristics Of Ceramic Bulletproof Plates
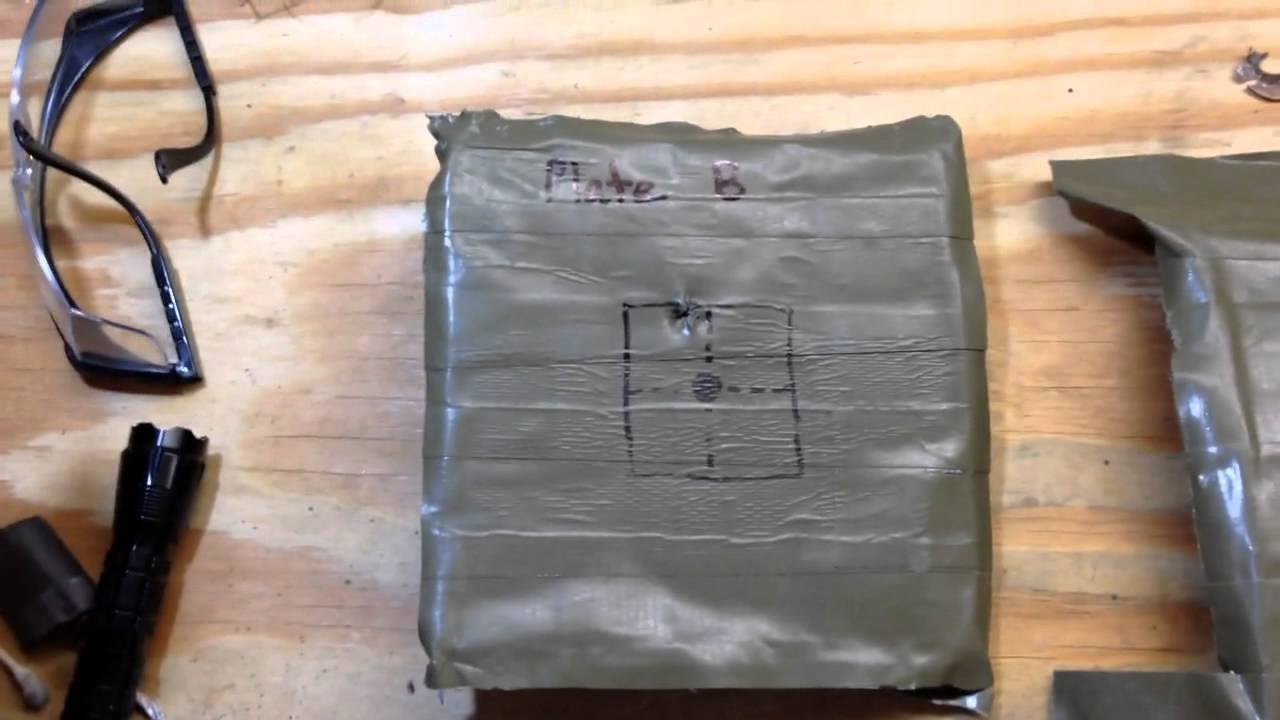
Homemade Bulletproof Body Armor Plate Youtube
Simple diy painted plates.
Diy bullet proof ceramic plates.

Homemade Liquid Nails Bulletproof Body Armor Youtube

Epic Homemade Ceramic Body Armor Youtube

How To Make Bulletproof Body Armor Plate Ask A Prepper Body Armor Plates Bullet Proof Armor Armor Plate

How To Make Body Armor For Rifles Youtube

Diy Body Armor Plate Body Armor Plates Body Armor Armor Plate

Diy Curved Ballistic Armor Making The Mold Youtube

The Ultimate Ballistic Body Armor Guide For Preppers And Survivalists Bulletproof Zone
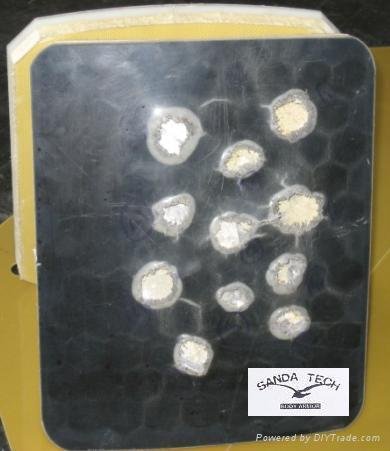
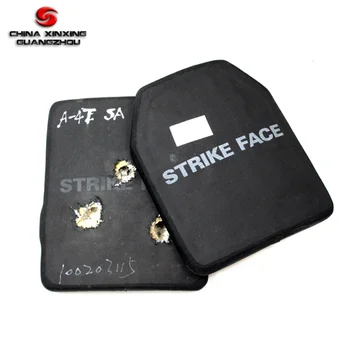
Ceramic Kevlar Bullet Proof Plate Nij Stand Alone Level Iv Ws 511a Sanda China Manufacturer Safety Products Security
How A Navy Seal Sets Up His Body Armor Navy Seal Techniques Tactical Rifleman Youtube

Diy Homemade Body Armor Info And Basics Youtube

Homemade Bulletproof Armor Plate Youtube
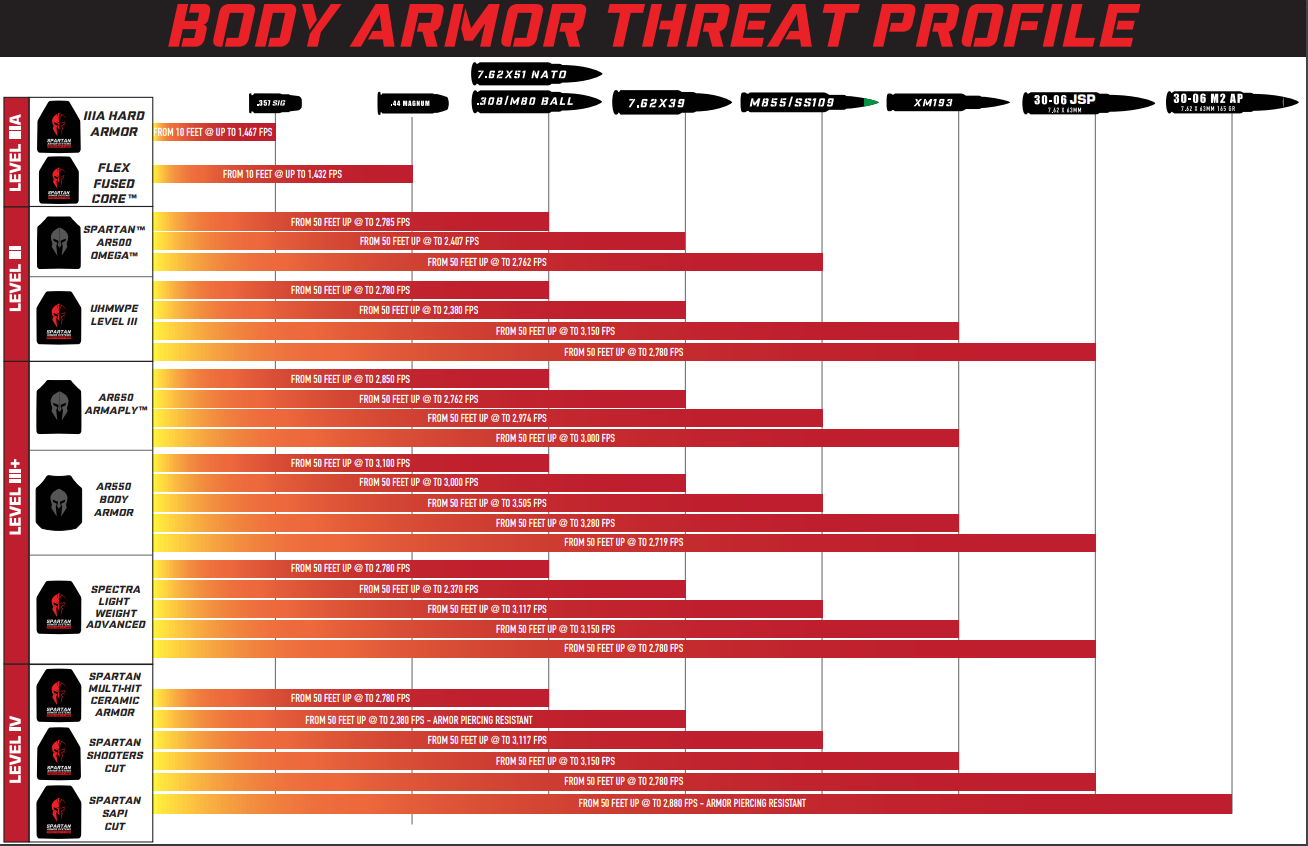
Body Armor And Plate Carriers Buyer S Guide Spartan Armor Systems

Ceramic Bullet Proof Plates Amran Molle External Tactical Body Armor With 2 Full Face Stand Alone Plates Level

Chest Protector Bulletproof Insert Nij Iv Silicon Carbide Ceramic Bulletproof Plate Sic Pe Grade 6 Can Resist Type 95 M16 Armor Piercing Bullet Amazon Co Uk Diy Tools
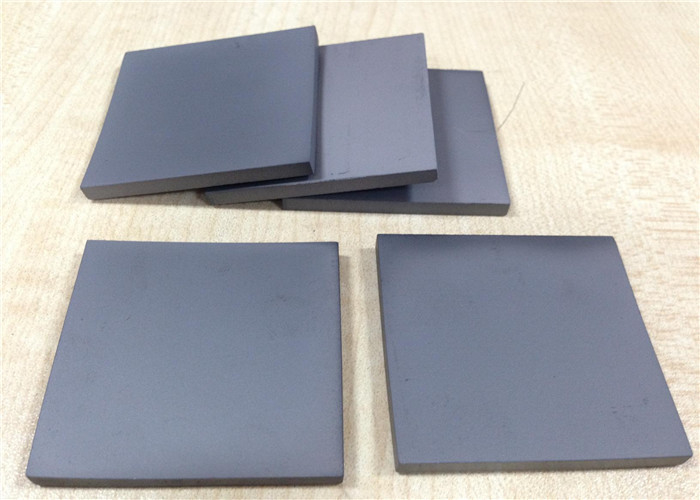
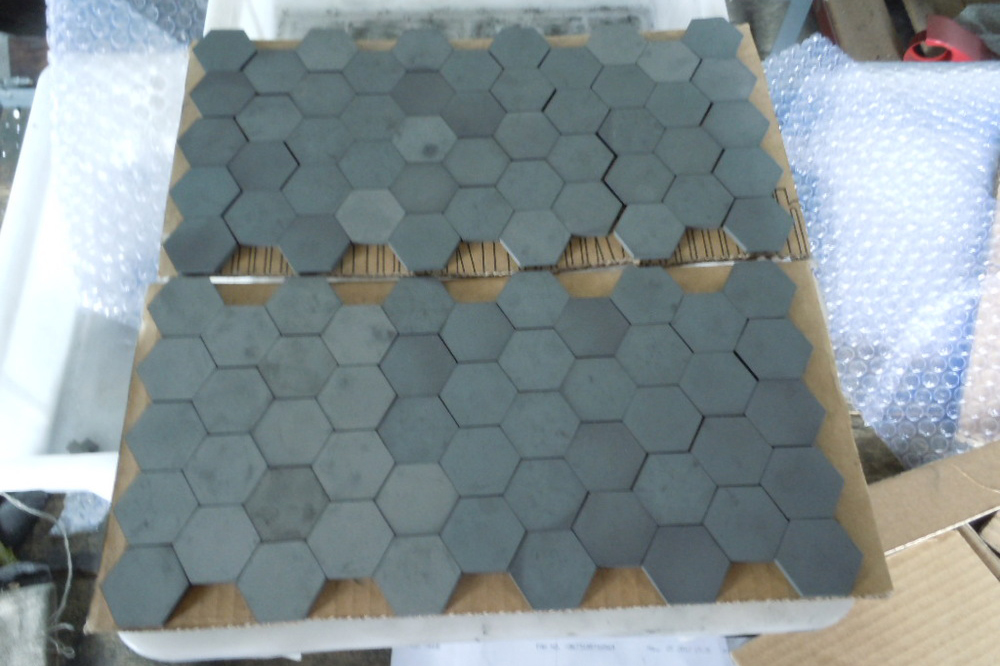
Boron Carbide Ballistic Ceramic Tile Aluminum Oxide Ceramic Tile Typical For Bullet Proof Plate

Strike Face Level Iii Ballistic Plate Bullet Proof Vest Bulletproof Ballistics
Nij Iii Alumina Customized Bulletproof Plate And Ballistic Plates Aluminium Oxide And Pe Armor Plate Buy Bullet Proof Vest Plate Pe Ceramic Plate Aluminium Oxide Pe Armor Plate Product On Alibaba Com

How To Build A Diy Ballistics Plate Body Armor Youtube
3

Classic Bullet Proof Vest Bullet Proof Vest Bullet Proof Armor Bullet Proof

Robot Check Body Armor Vest Cool Gear Bullet Proof Vests

Bulletsafe Lightweight Level Iv Ceramic Ballistic Plates Bulletsafe Bulletproof Vests
Backpack Armor Bullet Resistant Insert Bullet Proof Plate Ballistic Resistant Armor Ceramic Square Plate Buy Ceramic Square Plate Bullet Resistant Insert Backpack Armor Product On Alibaba Com

Galls Ballistic Plate Comparison Steel Vs Ceramic Vs Polyethylene Youtube
Source : pinterest.com
